By oldturkey03 • Difficulty: Moderate
This is definitely a destructive teardown. Hopefully it will help to show how the adapter was put together. Also that it does have a DAC on the adapter, not the lightning connector on the idevice.
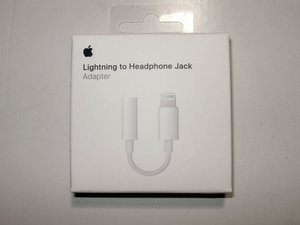


- Typical Apple product packaging. Simple yet elegant
- Backside of the package
- Bottom of the package describes the adapter as a A1749


- Again, nice packaging for the adapter.
- The total length of the adapter is 3 1/8 inches or 8cm. One side with the lightning connector and the other end is the 3.5mm headphone jack.
- Checked to see if there was any way to remove the outside of the adapter by slipping some thin tools in between. No way on that.
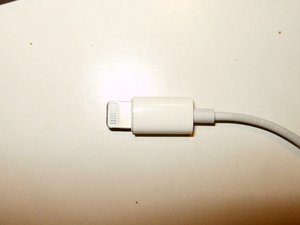


- This is the business end that requires the removal of the covering.
- The only way to do that is by cutting into it. Using a good scalpel does cut it with relative ease.


- Cutting length wise on one side
- as well as the opposite site
- Then flipping the two halves that were created by the cuts.


- This makes for an easy removal.
- The next thing to be removed is the ground shield.
- Using a pair of small side cutters that shield is easily removed as well.


- Just a matter of using the cutters on one end
- and rolling it around the connector.
- This shows the destructive nature of this teardown


- The connector is now left with another plastic covering.
- Luckily the removal of the ground shield seems to have open slots lengthwise in the plastic covering.
- Using these slots, the plastic needs to be carefully pulled away from the circuit board.


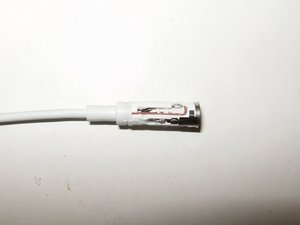
- Here is the business end with the cover removed.
- This side shows what appears to be the DAC inside this adapter
- Close-up of the circuit board shows Apple's fascination with adhesive and other sticky substances. Both sides of the circuit board are covered with it.


- A bit more of a close up of one side
- as well as the other. As more information becomes available about the DAC this teardown will be edited to reflect those.
- Here are the markings on the DAC 338S00140 A0SM1624 TW


- Carefully slice down the headphone jack connector with a sharp knife, being careful to not cut yourself.

- Insert wisdom here.
- Repairability score: 0 out of 10
- The device is clearly not meant to be opened or repaired in any way.
- It is impossible to open the adapter without destroying it.